Mercury Mariner 2009 SYNC Supplement
Manufacturer: MERCURY, Model Year: 2009, Model line: Mariner, Model: Mercury Mariner 2009Pages: 90, PDF Size: 3.86 MB
Page 41 of 90

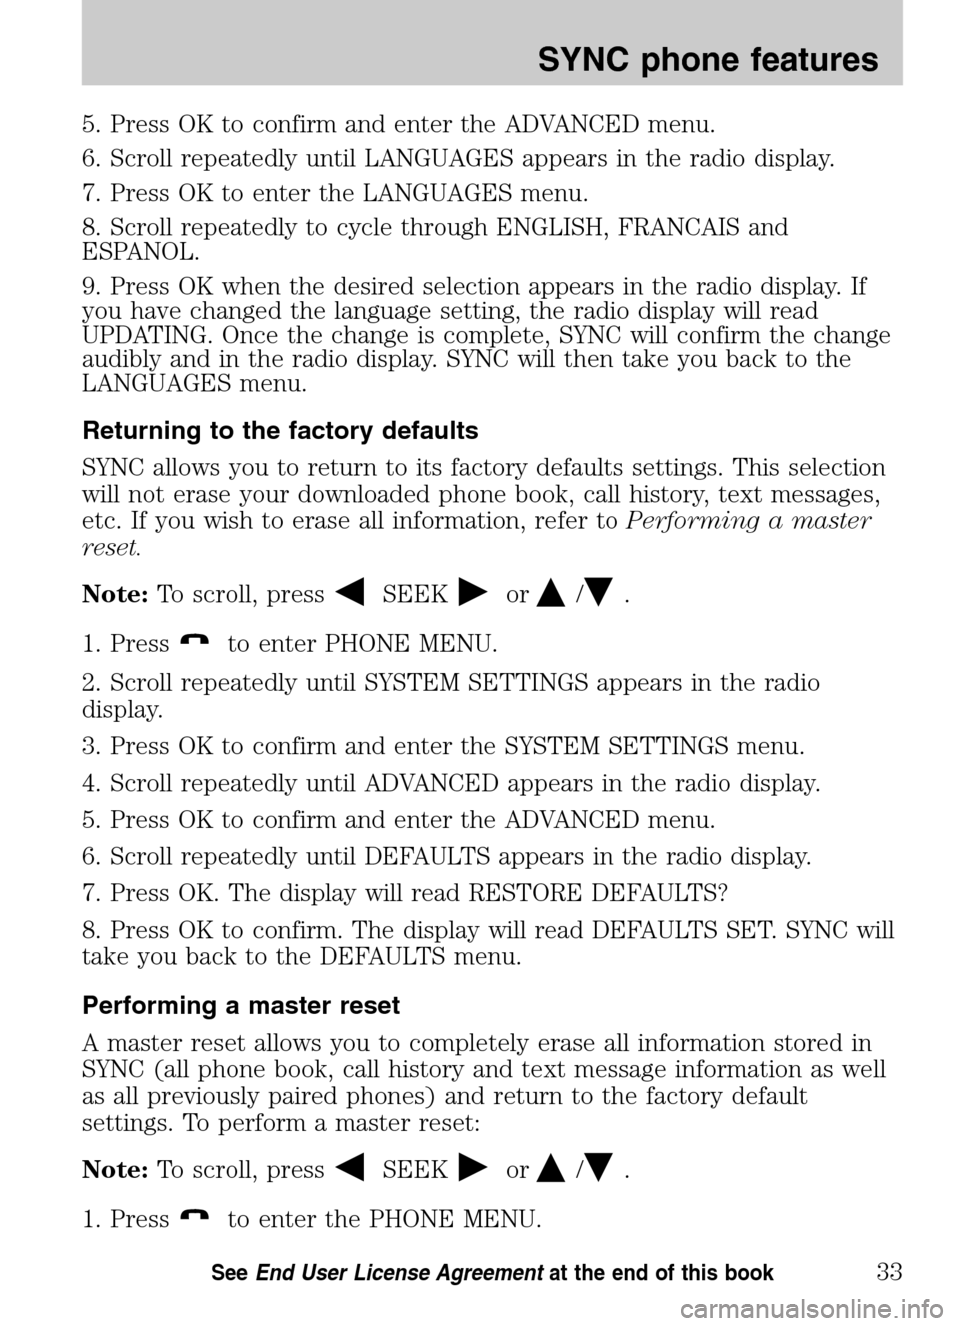
5. Press OK to confirm and enter the ADVANCED menu.
6. Scroll repeatedly until LANGUAGES appears in the radio display.
7. Press OK to enter the LANGUAGES menu.
8. Scroll repeatedly to cycle through ENGLISH, FRANCAIS and
ESPANOL.
9. Press OK when the desired selection appears in the radio display. If
you have changed the language setting, the radio display will read
UPDATING. Once the change is complete, SYNC will confirm the change
audibly and in the radio display. SYNC will then take you back to the
LANGUAGES menu.
Returning to the factory defaults
SYNC allows you to return to its factory defaults settings. This selection
will not erase your downloaded phone book, call history, text messages,
etc. If you wish to erase all information, refer to Performing a master
reset.
Note: To scroll, press
SEEKor/.
1. Press
to enter PHONE MENU.
2. Scroll repeatedly until SYSTEM SETTINGS appears in the radio
display.
3. Press OK to confirm and enter the SYSTEM SETTINGS menu.
4. Scroll repeatedly until ADVANCED appears in the radio display.
5. Press OK to confirm and enter the ADVANCED menu.
6. Scroll repeatedly until DEFAULTS appears in the radio display.
7. Press OK. The display will read RESTORE DEFAULTS?
8. Press OK to confirm. The display will read DEFAULTS SET. SYNC will
take you back to the DEFAULTS menu.
Performing a master reset
A master reset allows you to completely erase all information stored in
SYNC (all phone book, call history and text message information as well
as all previously paired phones) and return to the factory default
settings. To perform a master reset:
Note: To scroll, press
SEEKor/.
1. Press
to enter the PHONE MENU.
2009 SYNC/MGM (mgm)
Supplement
USA (fus)
SYNC phone features
33SeeEnd User License Agreement at the end of this book
Page 42 of 90

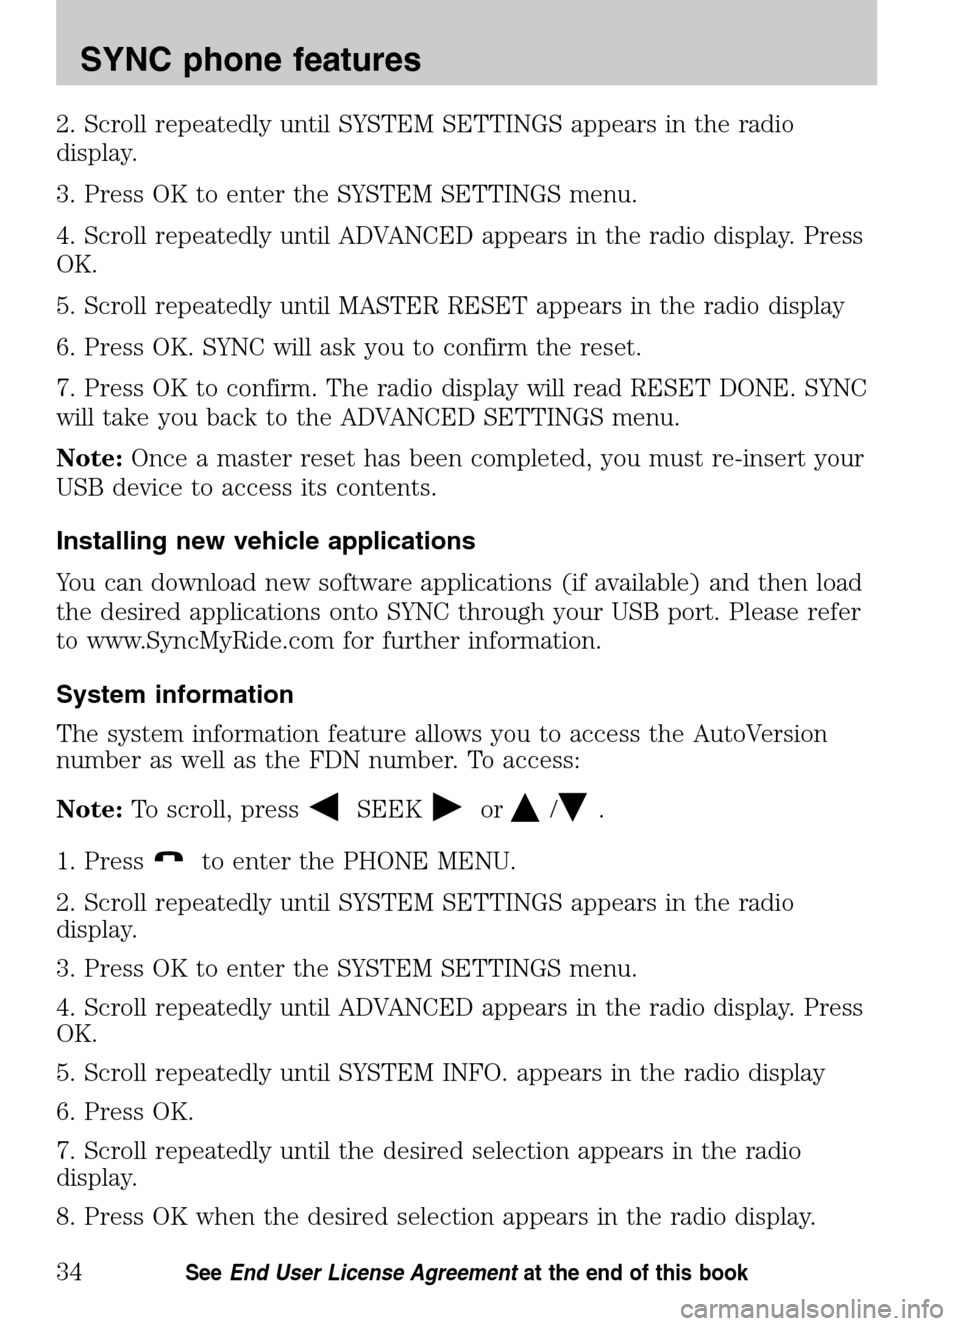
2. Scroll repeatedly until SYSTEM SETTINGS appears in the radio
display.
3. Press OK to enter the SYSTEM SETTINGS menu.
4. Scroll repeatedly until ADVANCED appears in the radio display. Press
OK.
5. Scroll repeatedly until MASTER RESET appears in the radio display
6. Press OK. SYNC will ask you to confirm the reset.
7. Press OK to confirm. The radio display will read RESET DONE. SYNC
will take you back to the ADVANCED SETTINGS menu.
Note: Once a master reset has been completed, you must re-insert your
USB device to access its contents.
Installing new vehicle applications
You can download new software applications (if available) and then load
the desired applications onto SYNC through your USB port. Please refer
to www.SyncMyRide.com for further information.
System information
The system information feature allows you to access the AutoVersion
number as well as the FDN number. To access:
Note: To scroll, press
SEEKor/.
1. Press
to enter the PHONE MENU.
2. Scroll repeatedly until SYSTEM SETTINGS appears in the radio
display.
3. Press OK to enter the SYSTEM SETTINGS menu.
4. Scroll repeatedly until ADVANCED appears in the radio display. Press
OK.
5. Scroll repeatedly until SYSTEM INFO. appears in the radio display
6. Press OK.
7. Scroll repeatedly until the desired selection appears in the radio
display.
8. Press OK when the desired selection appears in the radio display.
2009 SYNC/MGM (mgm)
Supplement
USA (fus)
SYNC phone features
34SeeEnd User License Agreement at the end of this book
Page 43 of 90

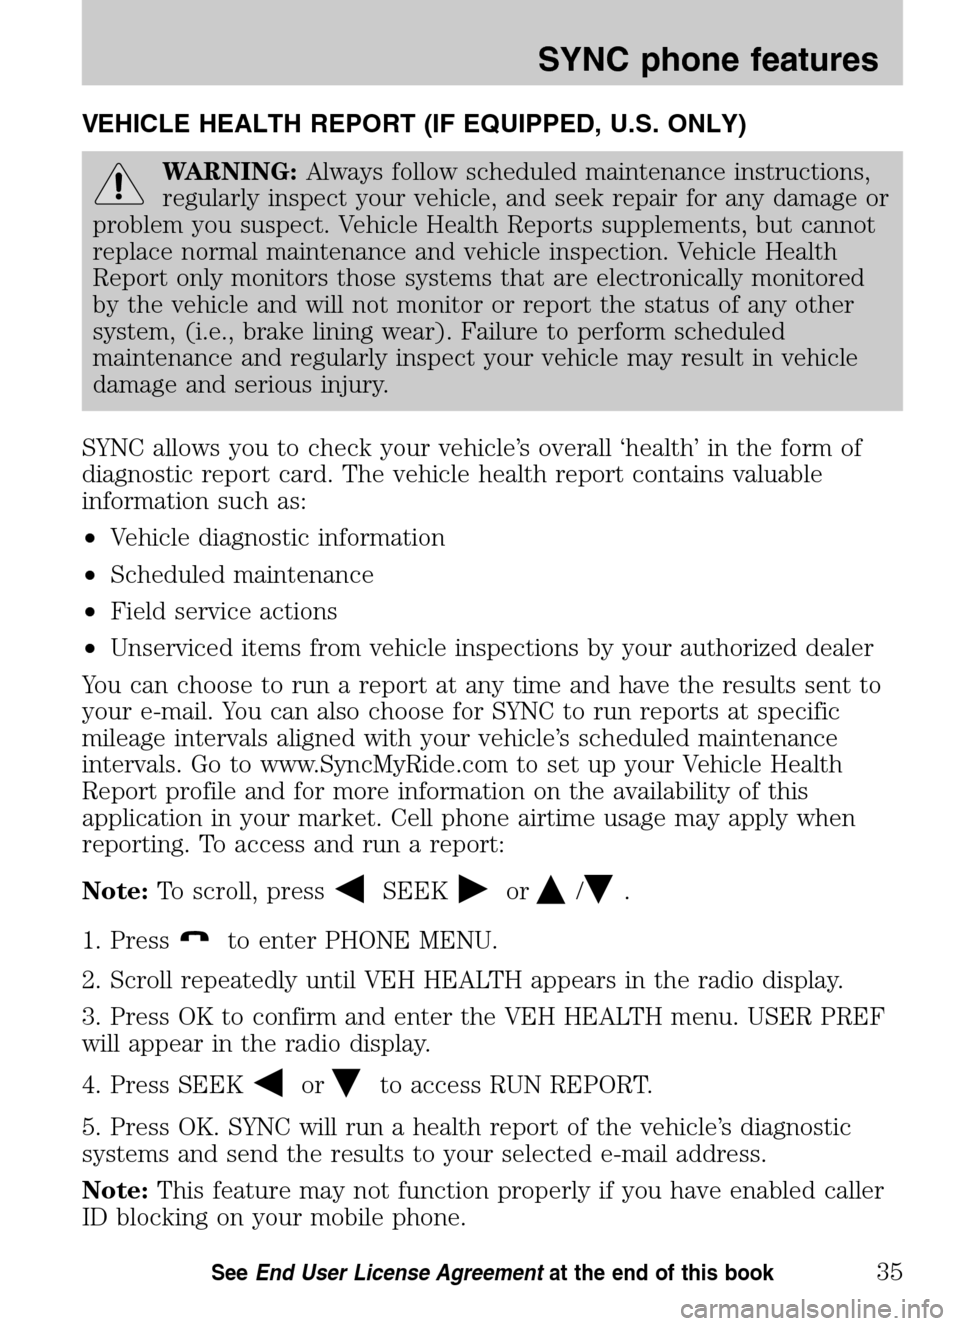
VEHICLE HEALTH REPORT (IF EQUIPPED, U.S. ONLY)
WARNING:Always follow scheduled maintenance instructions,
regularly inspect your vehicle, and seek repair for any damage or
problem you suspect. Vehicle Health Reports supplements, but cannot
replace normal maintenance and vehicle inspection. Vehicle Health
Report only monitors those systems that are electronically monitored
by the vehicle and will not monitor or report the status of any other
system, (i.e., brake lining wear). Failure to perform scheduled
maintenance and regularly inspect your vehicle may result in vehicle
damage and serious injury.
SYNC allows you to check your vehicle’s overall ‘health’ in the form of
diagnostic report card. The vehicle health report contains valuable
information such as:
• Vehicle diagnostic information
• Scheduled maintenance
• Field service actions
• Unserviced items from vehicle inspections by your authorized dealer
You can choose to run a report at any time and have the results sent to
your e-mail. You can also choose for SYNC to run reports at specific
mileage intervals aligned with your vehicle’s scheduled maintenance
intervals. Go to www.SyncMyRide.com to set up your Vehicle Health
Report profile and for more information on the availability of this
application in your market. Cell phone airtime usage may apply when
reporting. To access and run a report:
Note: To scroll, press
SEEKor/.
1. Press
to enter PHONE MENU.
2. Scroll repeatedly until VEH HEALTH appears in the radio display.
3. Press OK to confirm and enter the VEH HEALTH menu. USER PREF
will appear in the radio display.
4. Press SEEK
orto access RUN REPORT.
5. Press OK. SYNC will run a health report of the vehicle’s diagnostic
systems and send the results to your selected e-mail address.
Note: This feature may not function properly if you have enabled caller
ID blocking on your mobile phone.
2009 SYNC/MGM (mgm)
Supplement
USA (fus)
SYNC phone features
35SeeEnd User License Agreement at the end of this book
Page 44 of 90

Automatic reports (if equipped, U.S. only)
You can choose to have SYNC automatically prompt you to run a health
report at certain mileage intervals. To do so, you must first turn on the
automatic report feature. To access:
Note: To scroll, press
SEEKor/.
1. Press
to enter PHONE MENU.
2. Scroll repeatedly until VEH HEALTH appears in the radio display.
3. Press OK to confirm and enter the VEH HEALTH menu. USER PREF
will appear in the radio display.
4. Press OK. AUTO REPORT will appear in the radio display.
5. Press OK. Scroll to select from AUTO ON or AUTO OFF.
6. When the desired setting is in the radio display, press OK.
Mileage interval (if equipped, U.S. only)
Once you have turned on the automatic report feature, you can then
choose at which mileage intervals you would like to be prompted to run
a health report. To access:
Note: To scroll, press
SEEKor/.
1. Press
to enter PHONE MENU.
2. Scroll repeatedly until VEH HEALTH appears in the radio display.
3. Press OK to confirm and enter the VEH HEALTH menu. USER PREF
will appear in the radio display.
4. Press OK. AUTO REPORT will appear in the radio display.
5. Press OK. Scroll to select from 5000, 7500, or 10000 mile intervals.
6. When the desired setting is in the radio display, press OK.
When the chosen mileage is reached, SYNC will automatically prompt
you and ask if you would like to run a health report. You can then accept
and SYNC will send you an e-mail with the information or you can
choose to have SYNC remind you later.
911 ASSIST (IF EQUIPPED)
For 911 Assist to function properly, the vehicle must have battery
power after the crash, the cell phone must be previously paired,
connected to SYNC, and continue to function properly, and the
911 Assist feature must be previously activated.
2009 SYNC/MGM (mgm)
Supplement
USA (fus)
SYNC phone features
36SeeEnd User License Agreement at the end of this book
Page 45 of 90

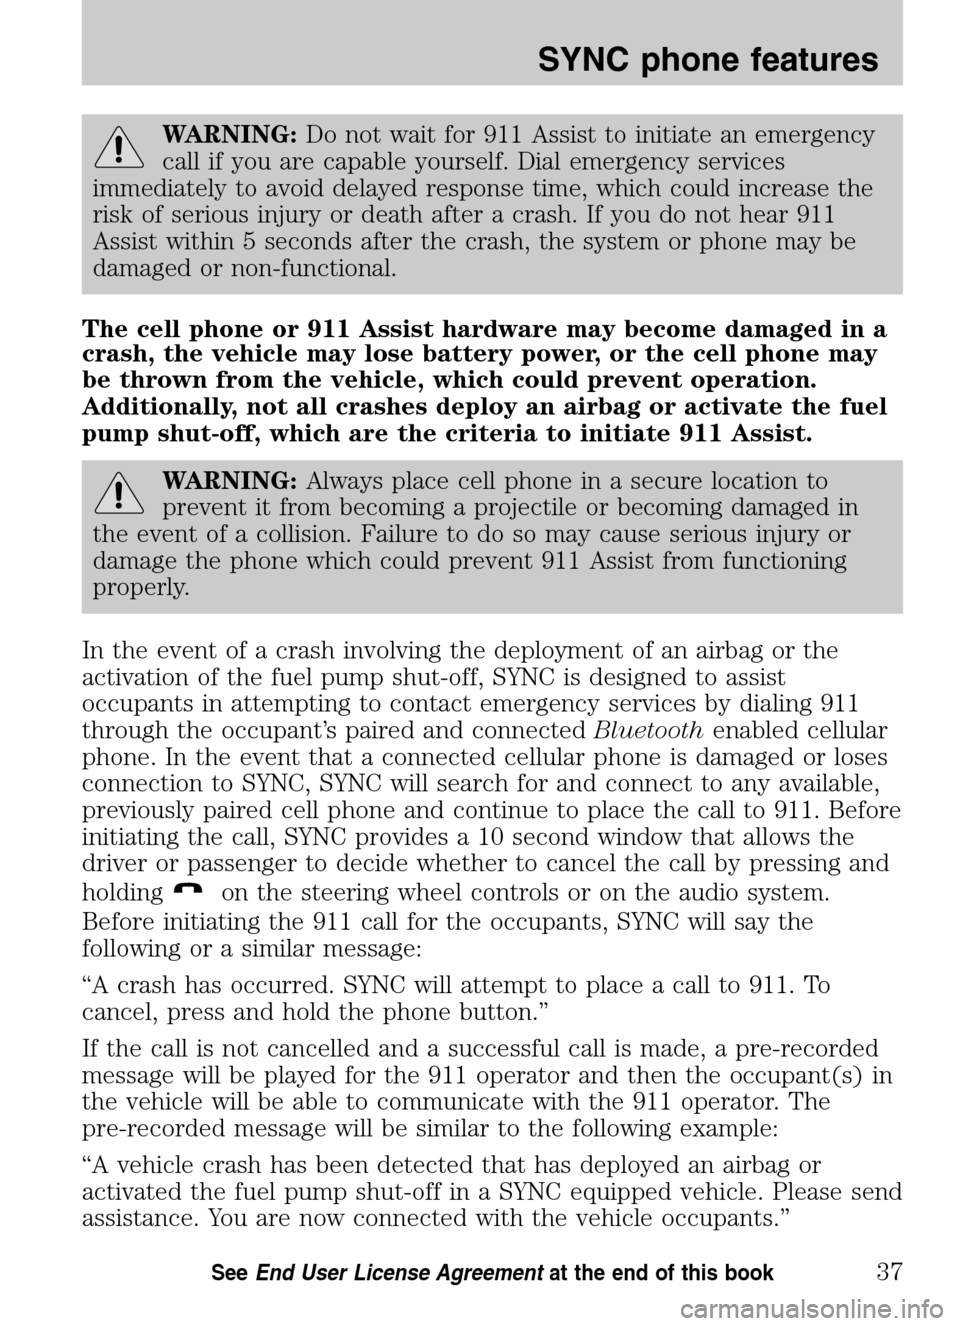
WARNING:Do not wait for 911 Assist to initiate an emergency
call if you are capable yourself. Dial emergency services
immediately to avoid delayed response time, which could increase the
risk of serious injury or death after a crash. If you do not hear 911
Assist within 5 seconds after the crash, the system or phone may be
damaged or non-functional.
The cell phone or 911 Assist hardware may become damaged in a
crash, the vehicle may lose battery power, or the cell phone may
be thrown from the vehicle, which could prevent operation.
Additionally, not all crashes deploy an airbag or activate the fuel
pump shut-off, which are the criteria to initiate 911 Assist.
WARNING: Always place cell phone in a secure location to
prevent it from becoming a projectile or becoming damaged in
the event of a collision. Failure to do so may cause serious injury or
damage the phone which could prevent 911 Assist from functioning
properly.
In the event of a crash involving the deployment of an airbag or the
activation of the fuel pump shut-off, SYNC is designed to assist
occupants in attempting to contact emergency services by dialing 911
through the occupant’s paired and connected Bluetoothenabled cellular
phone. In the event that a connected cellular phone is damaged or loses
connection to SYNC, SYNC will search for and connect to any available,
previously paired cell phone and continue to place the call to 911. Before
initiating the call, SYNC provides a 10 second window that allows the
driver or passenger to decide whether to cancel the call by pressing and
holding
on the steering wheel controls or on the audio system.
Before initiating the 911 call for the occupants, SYNC will say the
following or a similar message:
“A crash has occurred. SYNC will attempt to place a call to 911. To
cancel, press and hold the phone button.”
If the call is not cancelled and a successful call is made, a pre-recorded
message will be played for the 911 operator and then the occupant(s) in
the vehicle will be able to communicate with the 911 operator. The
pre-recorded message will be similar to the following example:
“A vehicle crash has been detected that has deployed an airbag or
activated the fuel pump shut-off in a SYNC equipped vehicle. Please send
assistance. You are now connected with the vehicle occupants.”
2009 SYNC/MGM (mgm)
Supplement
USA (fus)
SYNC phone features
37SeeEnd User License Agreement at the end of this book
Page 46 of 90

Note:Failure to cancel the call as described above will result in SYNC
dialing 911.
Note: When you are connected to the 911 operator, be prepared to
provide your name, phone number and location immediately, because not
all 911 systems are capable of receiving this information electronically.
The following steps are required for the 911 Assist feature to perform
properly:
• SYNC is on and functioning properly at the time of the incident and
throughout feature activation and use.
• SYNC 911 Assist feature is set to ON prior to the incident.
• ABluetooth enabled cellular phone is paired and connected to SYNC.
• A connected Bluetoothenabled cellular phone has the ability to make
an outgoing call at the time of the incident.
• The vehicle is located in the U.S. or Canada or in a territory in which
911 is the emergency number.
WARNING: Unless 911 Assist is previously configured to ON
prior to a crash, 911 Assist will not dial for help during an
emergency, which could delay response time, increasing the risk of
serious injury or death after a crash.
The 911 Assist feature is initially set to OFF. The connected phone must
be set as the primary phone in order to change the setting. To access the
setting:
1. Press
to enter PHONE MENU.
2. Scroll repeatedly until 911 ASSIST appears in the radio display.
3. Press OK to confirm and enter the 911 ASSIST menu.
Note: Before activating, 911 Assist will disclose to emergency
services that the vehicle has been in a crash involving the
deployment of an airbag or the activation of the fuel pump
shut-off and 911 Assist will be active for any paired and
connected cell phone. If you do not want to disclose this
information, do not activate the feature.
4. Press
orto toggle between ON/OFF.
5. Press OK when the desired option appears in the radio display. SET
ON or SET OFF will appear in the radio display as a confirmation.
For more information, please visit www.SyncMyRide.com.
2009 SYNC/MGM (mgm)
Supplement
USA (fus)
SYNC phone features
38SeeEnd User License Agreement at the end of this book
Page 47 of 90

VOICE COMMANDS IN MEDIA MODE
WARNING:Driving while distracted can result in loss of vehicle
control, accident and injury. Ford strongly recommends that
drivers use extreme caution when using cell phones, even with voice
commands. The driver’s primary responsibility is the safe operation of
their vehicle. Only use media and other devices not essential to the
driving task when it is safe to do so.
Voice commands when using the USB port
When using the USB port, you may say any of the following
commands: • Play all •Play
• Pause •What’s playing?
• Connections •Play next track
• Play previous track •Play next folder
2
• Similar music •Play previous folder2
• Autoplay on •Autoplay off
• Repeat off •Repeat on
• Shuffle on •Shuffle off
• Play genre
1•Play playlist
• Play album
• Play track
• Search genre
• Search album
• Refine artist
1
Voice commands are not available until indexing is complete.2Voice commands only available in folder mode. For more information,
refer to Exploring the USB device later in this chapter.
Note: In the above possible commands, “
that it could be the name of any desired group, artist, etc.
Autoplay: With this feature ON, SYNC allows you to listen to music
which has already been randomly indexed during the indexing process.
With this feature OFF, SYNC will not begin to play any of your music
until all media has all been indexed.
Note: The larger the number of songs the system has to index, the
longer indexing will take. Indexing times can vary from device to device.
2009 SYNC/MGM (mgm)
Supplement
USA (fus)
SYNC media features
39SeeEnd User License Agreement at the end of this book
Page 48 of 90

Search/Play Genre:You can search for and play a specific genre (type)
of music. SYNC will search all the data from your indexed music and, if
available, will begin to play that type of music.
Note: You can only play genres of music which are present in the
GENRE metadata tags that you have on your digital media player.
Similar music: You can tell the system to play music ‘similar’ to what
you are currently playing from the USB port. SYNC will use the metadata
information of each indexed song to compile a playlist for you.
Search/play artist/track/album: You can search for a specific
artist/track or album from the music SYNC has indexed through the USB
port.
Refine: This allows you to ‘refine’ your previous commands. For
example, if you told SYNC to search and play all music by a certain
artist, you could then tell SYNC to “refine album” and choose a specific
album from the list to view. If you then select ‘Play’, the system will only
play music from that specific album.
Voice commands while using Line in
While using the Line in feature (Auxiliary input jack), you may
speak the following commands:
• SYNC •Line in
• Bluetooth Audio •Cancel
• Phone •Voice settings
Voice commands when in Bluetooth audio mode
When in Bluetooth audio mode, you may use the following
commands: • Play •Connections
• Pause •Play next track
• Play previous track
Note: Please refer to your device’s user guide to see if these commands
are supported for Bluetoothaudio.
2009 SYNC/MGM (mgm)
Supplement
USA (fus)
SYNC media features
40SeeEnd User License Agreement at the end of this book
Page 49 of 90

At any time, you may say these commands: • SYNC •USB
• Help •Bluetooth Audio
• Line in •Phone
• Voice settings •Read message
• Cancel
Connecting a digital media player to SYNC via the USB port
Note: If your digital media player has an ON/OFF switch, ensure that
the device is ON.
1. Plug the device into the vehicle’s USB port.
2. Press AUX repeatedly until SYNC USB appears in the radio display.
3. Depending on how many digital media files are on your connected
device, INDEXING may appear in the radio display until indexing is
complete. You will then be taken to the PLAY MENU. Press OK.
4. Press
/to cycle through selections of: Play All, Albums, Genres,
Playlists, Tracks, Explore USB, Similar Music and Return.
5. When the desired PLAY MENU selection appears in the radio display,
press OK to build your desired music selection.
What’s playing?
At any time while a track is playing, you can press
or VOICE and say,
“What’s playing?”. SYNC will read the metadata tags of the playing track
to you (if populated).
USING YOUR MEDIA MENU
SELECT SRC (SOURCE) will allow you to select from various possible
SYNC media sources, such as: USB, BT STEREO or LINE IN (Auxiliary
Input jack).
To access the SELECT SRC (SOURCE) within the Media section of
SYNC:
Note: To scroll, press
SEEKor/.
1. Press AUX repeatedly until SYNC appears.
2. Press MENU to enter the MEDIA MENU.
2009 SYNC/MGM (mgm)
Supplement
USA (fus)
SYNC media features
41SeeEnd User License Agreement at the end of this book
Page 50 of 90

3. Scroll repeatedly to cycle through:
• PLAY MENU - Refer to Using SYNC’s play menu later in this chapter.
• SELECT SRC (SOURCE) (Select source)
• MEDIA SETTINGS
• APPLICATION
• SYSTEM SETTINGS
• EXIT MENU
4. When the desired selection appears in the radio display, press OK to
confirm. Refer to the following sections for further information on these
selections.
Selecting different media sources
The MEDIA MENU in SYNC allows you to select and play music from
different media sources (USB, BT STEREO or LINE IN - Auxiliary Input
jack). Once accessed, you can then play music, shuffle, access your
playlists, etc. To access this menu:
Note: To scroll, press
SEEKor/.
1. Press AUX repeatedly until SYNC appears.
2. Press MENU to access the MEDIA MENU.
3. Press OK.
4. Scroll repeatedly until SELECT SRC (Select source) appears in the
radio display.
5. Press OK to confirm.
6. Scroll repeatedly to cycle through:
USB
BT STEREO
Note: This is a device dependent feature.
LINE IN
Accessing and using your USB port
Your vehicle is equipped with a USB port. (For exact location, refer to
your vehicle’s Owner’s guide .) You can use the USB port to plug in and
access media devices as well as charge devices (if supported by your
device). For a list of compatible media players, refer to
www.SyncMyRide.com.
2009 SYNC/MGM (mgm)
Supplement
USA (fus)
SYNC media features
42SeeEnd User License Agreement at the end of this book